Tuesday 9 December 2014

Machinery

This morning involved numbers being sew onto calico bags. Sometimes we know or have a rough idea as to what the items being sewn are used for or who they are for. Our guessing came us up with laundry bags for a hotel perhaps.

As usual you need to cut the placements, measure them onto the bags and then pin down before putting onto the frame.

      Another intern and myself were given the task to thread up some different bead structures to a clients requirements. We had to use synthetic plastic thread, which I had to pull very tightly as the beads wouldnt keep their shape if it was too loose.We worked together to decide on different shapes and to work out where the droplet beads would go and which would be the strongest structure.    


More snowflake....

So this morning I was about to get started on my snowflake which has me stumped as to what I should do to it. Thankfully I was saved but Scott the head designer as I was asked to sew some spangles onto a very elaborate gold work piece.

I have only two images of this as this is a customers piece which she is creating into art work to show and sell.

           I just had to cover all the gold work knots in the design with a gold spangle and a bead. I had to be very careful and precise and not lose any spangles as they are real gold and are very expensive. After my rather interesting morning I was then on snowflake duty....This seemed to be dragging on, 

Once the star was covered in beads I then beaded the other strands before deciding I liked the combination of colours and wanted to do a blue cut back appliqué. I had forgotten how long it takes to sew around the cut out areas. 


snowflakes

Hand and Lock release a different website/ magazine each month with different topics and for Christmas us interns were asked to embroider a Christmas snow flake for the website.

The design for the snow flake was quite small and complex and I was a bit unsure as to what techniques I could use.

To add some texture I went with tiny white French knots on the outer prongs of the design trying to keep it all symmetrical. I did also think about adding beads or another thread into this section however I had a limited amount of time to complete this.
       

I thought id use my gold work technique and cut some felt padding for the centre star which I stitched down and then covered with a stem stitch. When this was done I stitched down a smaller felt star which I covered in silver coated beads.    


I spent most of the day working on this and doing small errands or cutting away jump stitches from garments that had just been on the machine.


Monday 8 December 2014

The Prize Giving

Every year Hand and Lock have a design and embroidery competition for students and open to the public.
The brief changes but its all about combining embellishment, bead work, gold work and textures into a garment.

As an intern we are all expected to help set up the hall, the garments, welcome the guests and make sure the event runs smoothly.

I had already taken part in the invites, finding the addresses and sealing the envelopes.
In the morning of the event we were all given a time table run by the second and where we would be.

First step was to get the very tall and heavy flowers into the taxi and get them to Bishopsgate!


    Next task was to make up all the goodie bags, what you see here is actaully organised chaos. We had to make over 150 bags and set up the tables getting it all looking presentable and leave ourselves enough time to get changed and ready before guests arrive.         The hall is all set up and ready for the guests to arrive, all the gowns are on the manakin's and everything has been pressed and looking sharp.My tasks for the evening was to welcome guests at the front table, give out the voting cards and explain how it works. Then towards the end of the night go and collect them all back in so that they can be counted.  


  These are my two favourite designs and the two that I voted for.


The prize giving, and the winning design.


The other half to goldwork

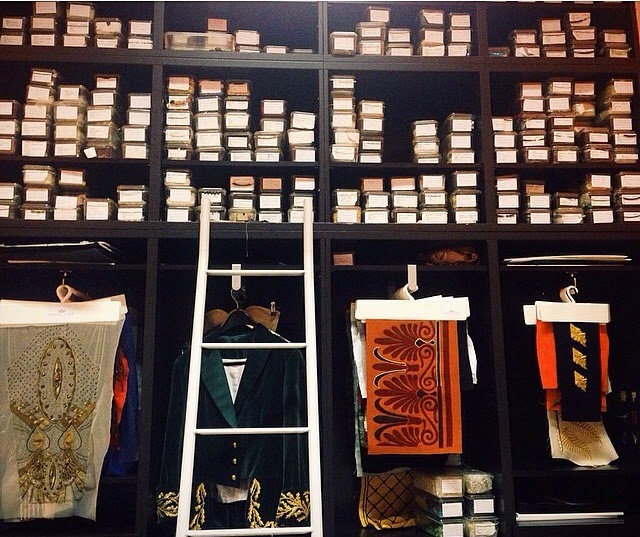
So with every hand embroidered piece wither it be gold work or a monogram there is a lot of prep that goes to it.

My job today was to re frame the embroidery frames, sounds easy but trust me it wasn't.


So firstly I had to cut the fabric leaving enough for the length of two frames. You then fold over the edge making it stronger, the sides of the fabric should also be equal distances from the sides of the frame. Secure this down with some tape.  

I then had to get four strands of thread and wax them before starting to thread up the frame. You start on one side doing diagonal stitches then come back on yourself creating a cross. I had to keep pulling the thread every so often as the stitches need to be extra tight and strong.

Once one side was done, I twisted the frame and started on the loose side. This was a lot more tricky as I had to keep the tension of the fabric even for the whole frame and make sure that the grain was straight as when the frame gets tightened the fabric would twist if not sewn down straight.


Once I had done all the frames i was then able to do some more gold work. I was working on the padding, which is strands of thread that you sew down and equally cut into the shape of your design. iIhad to note down the thread count to make sure that it would be the same shape and thickness for the other half of my design.   


Machine time

So today we had two huge boxes of jumpers that needed the placements put on and put into the machine.
We also learned how to use the machine, how to work out where the needle is and where about on the design it starts to sew.


The next step was to place the jumpers onto the frame, we decided to put two on each frame. This meant that we had to make sure that we only pin the one layer of jumper being careful not to catch     the other jumper as it may get caught up in the machine.     


Once the backing was pulled away ans jump stitches cut we could then pack them away.


just another day

Today was a bits and bobs kind of day.

There was a lot of prep work for the New York courses and this took up a lot of the day. 
I had to prick all of the designs ready for them to be pounced once in New York. 
                         I was also helping another intern with placements on onesies. This involves cutting all the placements, measuring them in equal distance and pinning them onto the garment before pinning the garment into the frame. 


                  Once the garment was finished on the machine I had to pull off the backing and cut away the jump stitches making the garment look neater before putting it back in the packaging.


Monday 1 December 2014

New York

So in a few weeks time half of the studio will go to New York for 3 weeks of classes. They will be teaching gold work, tambour beading, silk shading

Us as interns were involved in packing the bags for the students, containing all they needed for each lesson.
Our first task was to go to the bead room and pick out a wide variety of beads which then had to be re threaded and put into plastic bags for tambour beading.

Once this was done we then had to sort the gold work and silver threads into bags for New York. Getting the right weight of gold and making sure everyone had the correct amount of each thing. We also had to make sure they had the correct instructions, wax and needles.

Friday 28 November 2014

Gold Work

Today I got to learn an ancient technique that I didn't think id get the privilege to learn whilst interning at hand and lock.
I got to start my own gold work piece, learning with another intern we looked at the beginners guide book that is printed for the gold work weekend classes and set about starting our own piece.


So as will all designs once it is pricked and transferred to your fabric you want to get a gold or silver pen and lightly go over your design so that you can still see your design if it takes you a few weeks to do. 


The next stage was to then transfer the design to some black felt so that you can get the correct shapes for the inner sections. These bits will be 'padded' and so once the felt is cut out then you need to neatly stitch it onto your design.

My next part of the day was helping to prep materials for the New York courses in a few weeks time. Myself and another intern made new pin cushions for pricking out designs, there needed be on for each student.